A pool cabana isn’t just a place to store floaties and sunscreen, it’s the difference between a backyard pool and a legitimate outdoor retreat. Whether it’s a changing room, a shaded lounge spot, or a full-blown entertaining hub, a well-designed cabana turns a concrete slab and some chlorine into a space people actually want to hang out in. For homeowners looking to maximize their poolside real estate, a cabana offers privacy, shade, and functionality that a simple umbrella can’t match. This guide walks through design styles, essential features, and practical building considerations to help transform any backyard into a resort-worthy escape.
Table of Contents
ToggleKey Takeaways
- A pool cabana transforms a basic swimming area into a functional outdoor retreat by providing shade, storage, and privacy while increasing property value when well-designed.
- Modern minimalist and rustic design styles offer distinct aesthetics—clean lines and steel frames for contemporary spaces, or natural timber and stone for warm, organic appeal.
- Essential infrastructure like GFCI-protected electrical circuits, utility sinks, and proper ventilation are critical for safe, comfortable cabana functionality.
- Multi-functional cabana designs maximize small spaces through vertical storage, fold-down furniture, and strategic partitioning to serve changing, lounging, and entertaining needs.
- DIY construction is feasible for intermediate builders (3–6 weeks), but permits, frost-line foundations, and proper framing are non-negotiable; material costs range from $2,500–$15,000+ depending on features.
- Local zoning codes, setback requirements, and building permits are mandatory before construction, as structures over 100–200 sq ft typically require official approval.
What Is a Pool Cabana and Why Do You Need One?
A pool cabana is a freestanding or attached structure near a pool, designed to provide shelter, storage, and a defined space for changing, lounging, or entertaining. It typically ranges from a simple covered pavilion to a fully enclosed building with walls, windows, and utilities.
The core function is straightforward: it gives swimmers a place to change without trekking through the house in wet feet, stores pool equipment and towels within arm’s reach, and offers shade when the sun gets brutal. But beyond utility, a cabana creates a focal point. It organizes the pool area, establishes zones for different activities, and adds architectural interest to what might otherwise be a flat expanse of concrete.
For families with kids, it eliminates the constant in-and-out traffic from the house. For entertainers, it becomes a bar, outdoor kitchen, or lounge area that keeps guests poolside. And for anyone serious about backyard design, it’s a structure that can significantly boost property value, assuming it’s built well and suits the overall aesthetic. Before breaking ground, check local zoning codes and setback requirements. Structures over a certain square footage (often 120–200 sq ft, depending on jurisdiction) may require a building permit.
Modern Minimalist Pool Cabana Designs
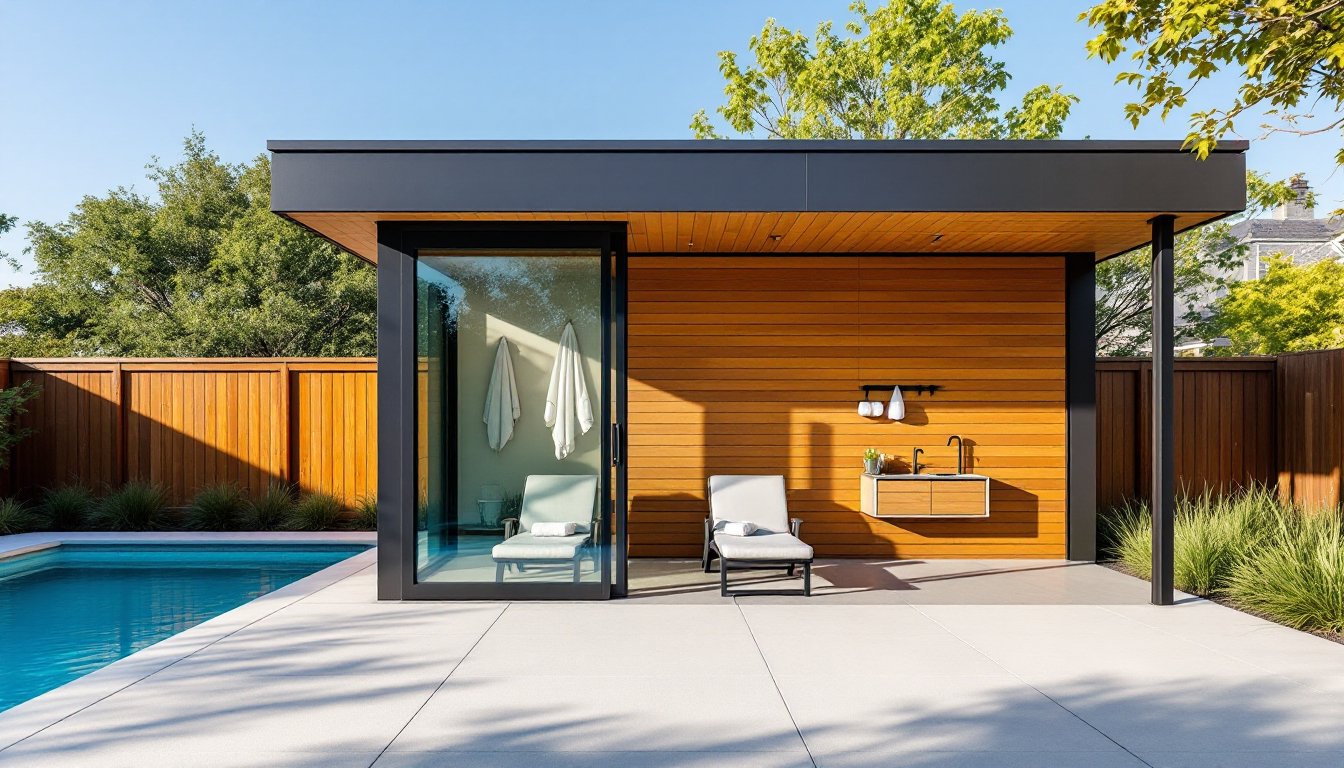
Modern minimalist cabanas lean on clean lines, flat or low-slope roofs, and a restrained material palette, think steel frames, fiber cement siding, and stained or sealed wood accents. The goal is visual simplicity without unnecessary ornamentation.
A popular approach is the open-sided pavilion with a steel post-and-beam frame and a standing-seam metal roof. This style provides shade and defines the space without closing it in, making it ideal for smaller yards where a fully enclosed structure would feel heavy. Paint the steel matte black or charcoal, add a polished concrete floor, and install a few strategically placed recessed LED fixtures for nighttime use.
For a slightly more enclosed option, consider a three-sided cabana with floor-to-ceiling sliding glass or acrylic panels. This allows flexibility, open it up for parties, close it off when the wind picks up or you need bug protection. Use horizontal slat siding in cedar or Ipe on the back wall for texture without clutter.
Keep furnishings minimal: a built-in bench with waterproof cushions, a wall-mounted folding table, and a couple of hooks for towels. Skip the tchotchkes. Modern design works best when every element has a clear purpose. Many homeowners pair this aesthetic with outdoor entertaining spaces to create a cohesive, contemporary flow throughout the yard.
Rustic and Natural Pool Cabana Styles
Rustic cabanas embrace natural materials, rough-sawn lumber, stone foundations, cedar shake roofs, and exposed post-and-beam construction. The look is warm, organic, and rooted in traditional building techniques.
Start with a timber frame using rough-cut 6×6 or 8×8 posts (actual dimensions, not nominal). These can be locally sourced or reclaimed from old barns for added character. Pair them with a gable or hip roof covered in cedar shakes or standing-seam copper, which will patina over time. Stone or stacked fieldstone piers make excellent foundations and tie the structure visually to the landscape.
For siding, use board-and-batten cedar or reclaimed barnwood. Leave it natural and apply a clear penetrating oil stain, or go with a weathered gray finish. Avoid glossy finishes, they clash with the rustic vibe. Install operable wood shutters or sliding barn doors for a functional design element that also adds texture.
Inside, consider a natural stone or flagstone floor instead of concrete. It’s cooler underfoot on hot days and blends seamlessly with garden design elements commonly found in naturalistic landscapes. Add wrought iron hooks, Edison-bulb string lights, and simple wood benches. The goal is to make the cabana feel like it’s been there for decades, not like it arrived on a flatbed last Tuesday.
Multi-Functional Cabana Ideas for Small Backyards
When square footage is tight, a cabana needs to pull double or triple duty. The key is vertical storage, fold-down furniture, and smart layout planning.
Consider a compact 8×10 or 10×12 structure with a partition wall that divides it into two zones: a changing area with a curtain or pocket door on one side, and an open lounge or storage area on the other. Install wall-mounted folding benches that drop down when needed and stow flat when not in use. Use overhead storage racks or ceiling-mounted hooks for pool noodles, inflatables, and seasonal gear.
Another option is a cabana with a fold-down bar or serving counter. Build a 30-inch-deep counter along one wall with a hinged top that lifts to reveal a small sink, mini-fridge, and storage for glassware. When not entertaining, it folds down flush to the wall. Pair it with a couple of fold-out stools.
If the cabana backs up to a fence or property line, make the roof do double duty. A flat or low-slope roof can support a rooftop deck or a green roof planted with sedums (check local load requirements first). Alternatively, use the roof structure to support a retractable awning that extends poolside shade without requiring additional posts.
For those integrating the cabana into a broader backyard refresh, outdoor design strategies often address how to layer multiple functions into limited space without making it feel cramped.
Essential Features to Include in Your Pool Cabana
A functional cabana starts with the right infrastructure. Here’s what should be on the checklist, depending on how the space will be used.
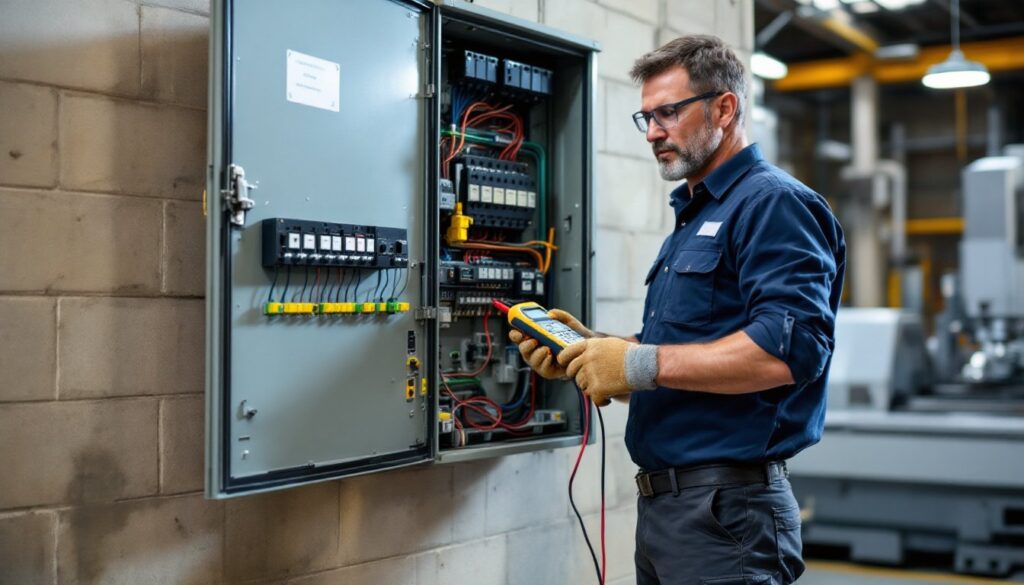
Electrical: Run a dedicated 20-amp circuit (minimum) for outlets, lighting, and any small appliances like a mini-fridge or fan. Use GFCI-protected outlets, this is required by the NEC for outdoor wet locations. If planning for a TV, sound system, or outdoor heater, consider a 30- or 40-amp circuit. All electrical work near pools must meet strict code requirements: hire a licensed electrician if unsure.
Plumbing: A small utility sink is worth the investment. It allows for rinsing off sandy feet, washing pool toys, or mixing drinks without running back to the house. Use PEX or CPVC supply lines and run a dedicated drain to the main sewer line or a French drain (check local codes). Include an outdoor shower if space and budget allow, just make sure it has hot water, or it won’t get used.
Ventilation: Even open-air cabanas benefit from ceiling fans. In enclosed designs, install louvered vents near the roofline to prevent moisture buildup and mildew. Cross-ventilation is critical in humid climates.
Storage: Built-in shelving, pegboards, and lockable cabinets keep the space organized. Store chemicals in a vented, locked cabinet, never in direct sunlight. Use marine-grade or powder-coated hardware to resist rust.
Flooring: Sealed concrete, porcelain tile, or composite decking all work well. Avoid untreated wood, which will rot, and natural stone without a sealer, which stains easily. Slope the floor slightly (1/8 inch per foot) toward a drain or the exterior to prevent standing water. Homeowners juggling ongoing upkeep should integrate their cabana into a broader pool care routine to keep everything in top shape.
DIY Pool Cabana Building Tips and Considerations
Building a cabana is within reach for intermediate DIYers, but it’s not a weekend project. Plan on 3–6 weeks from layout to final trim, depending on size and complexity.
Foundation: Most cabanas sit on concrete piers, a poured slab, or a wooden deck frame. Piers are the easiest and most affordable for level sites, dig below the frost line (varies by region, typically 24–48 inches), pour 12-inch-diameter footings, and set galvanized post anchors. For uneven terrain, a deck-style foundation with 4×4 or 6×6 posts works well.
Framing: Use pressure-treated lumber for any wood in contact with concrete or soil. Frame walls with 2×4 or 2×6 studs on 16-inch centers. For roof framing, go with 2×6 or 2×8 rafters depending on span and snow load (consult local span tables). A simple gable or shed roof is easier to build than a hip roof and sheds water effectively.
Roofing: Asphalt shingles are the budget choice, but metal roofing lasts longer and looks sharper on modern or rustic designs. Install a waterproof underlayment (synthetic felt or peel-and-stick) before the finish roofing.
Permitting: Call your local building department before ordering materials. Most jurisdictions require permits for structures over 100–200 sq ft, and many require setbacks from property lines (often 5–10 feet). Electrical and plumbing work almost always requires permits and inspections.
Cost: A basic 10×12 open-air cabana with a simple roof, no utilities, and DIY labor runs $2,500–$5,000 in materials. Add electrical, plumbing, siding, and finished interiors, and costs jump to $8,000–$15,000+. Hiring a contractor can double or triple that. Prices vary widely by region and material availability, so get local quotes.
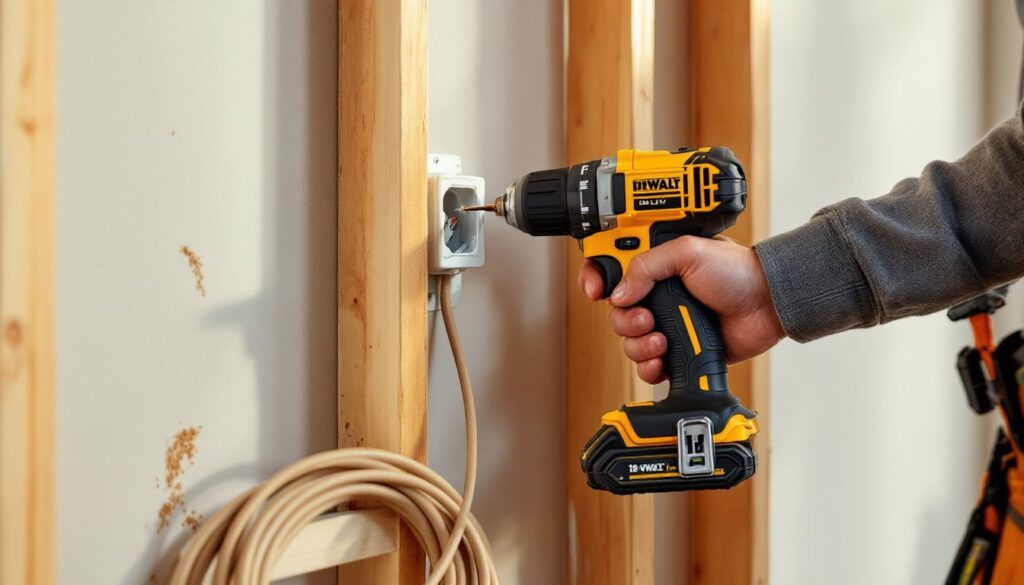
Tool Requirements: You’ll need a circular saw or miter saw, drill/driver, level, post-hole digger or auger, framing square, and chalk line. A table saw and pneumatic framing nailer speed things up but aren’t essential. Rent a concrete mixer if pouring footings by hand.
For structural questions or uncertainty about load-bearing requirements, consult an engineer or experienced contractor. DIY ambition is great, but a poorly built cabana is a liability. Families often draw inspiration from regional design approaches that balance aesthetics with climate-appropriate construction methods.
One example worth studying is a hyper-efficient Santa Barbara cabana that incorporates a loft bedroom and maximizes limited space through careful planning and quality craftsmanship. Those seeking broader ideas for poolside functionality can explore backyard features that complement cabana design.
Conclusion
A pool cabana is more than a shelter, it’s an investment in how a backyard functions and feels. Whether it’s a sleek modern pavilion, a rustic timber-frame retreat, or a compact multi-use structure, the right design delivers shade, storage, and style. Focus on solid construction, smart features, and a look that complements the existing landscape. With thoughtful planning and the right materials, a cabana turns any pool area into a space worth spending time in.