Most homeowners ignore their bathroom plumbing until something goes wrong, a running toilet at 2 a.m., a sink that won’t drain before guests arrive, or a mystery puddle creeping across the tile. By then, minor issues have escalated into expensive repairs. Regular bathroom plumbing maintenance isn’t glamorous, but it’s one of the smartest ways to protect your home’s value and avoid emergency service calls. This guide walks through the essential tasks that keep pipes flowing, fixtures working, and water bills under control.
Table of Contents
ToggleKey Takeaways
- Regular bathroom plumbing maintenance prevents costly emergencies and extends fixture lifespan by catching small issues like slow drains and leaks before they become major problems.
- Monthly drain cleaning and inspection of under-sink cabinets are the most effective ways to avoid clogs and water damage in your bathroom plumbing system.
- Test your toilet flapper, fill valve, and shutoff valve annually since a running toilet can waste 200 gallons per day and indicate failing components.
- Monitor your water meter with all fixtures off—if the dial moves, a hidden leak is draining your wallet and potentially damaging your home’s structure.
- Hard water deposits on faucets and showerheads can be dissolved overnight using a 50/50 white vinegar and water solution, preventing scale buildup and maintaining water pressure.
- Know when to call a professional plumber for issues like persistent slow drains, low water pressure, sewer gas odors, or active leaks inside walls to avoid costly DIY mistakes.
Why Regular Bathroom Plumbing Maintenance Matters
Bathrooms account for nearly 40% of household water use, according to the EPA. That volume puts constant stress on drains, valves, seals, and supply lines. Small leaks waste thousands of gallons annually, driving up utility costs and creating conditions for mold growth behind walls.
Preventive maintenance catches problems early, before a slow drip becomes a rotted subfloor or a clogged drain backs up sewage. It also extends the lifespan of fixtures. A faucet cartridge that’s cleaned and lubricated every six months can last 15 years instead of five.
Structurally, water damage compromises framing, drywall, and flooring. The International Residential Code (IRC) requires accessible shutoff valves for every fixture, but most homeowners never test them. If a supply line bursts and the valve is seized, minor damage becomes catastrophic.
Finally, routine checks preserve resale value. Home inspectors flag leaks, corrosion, and outdated fixtures. Addressing these proactively keeps your home competitive and prevents last-minute scrambles before listing.
Inspect and Clean Your Drains Monthly
Hair, soap scum, and mineral deposits accumulate faster than most people realize. A drain that empties slowly today will be completely blocked next month.
Start by removing pop-up stoppers in sinks and tub drains. Unscrew or lift them out (mechanisms vary by manufacturer), then pull out the clump of hair and debris. Rinse the stopper with hot water and wipe down the rubber gasket.
For deeper cleaning, use a plastic drain snake or zip-it tool, available for under $5 at any hardware store. Insert it into the drain, twist, and pull. You’ll be surprised what comes out. Avoid chemical drain cleaners for routine maintenance: they corrode pipes over time and don’t address the root cause.
Once a month, flush drains with boiling water (not in PVC traps, use hot tap water instead). This melts grease and soap buildup before it hardens. For stubborn odors, pour half a cup of baking soda followed by a cup of white vinegar, let it fizz for 15 minutes, then flush with hot water.
Inspect the overflow holes in sinks and tubs. These often harbor mold and gunk. Scrub them with an old toothbrush dipped in diluted bleach.
If a drain gurgles or drains slowly even after cleaning, you may have a vent stack blockage or partial clog deeper in the line. That’s a job for a drain auger or a plumber with a camera inspection rig.
Check for Leaks Around Fixtures and Pipes
Leaks are sneaky. A pinhole in a supply line can spray water inside a wall for months before you notice a stain. Catching them early requires active inspection, not waiting for evidence.
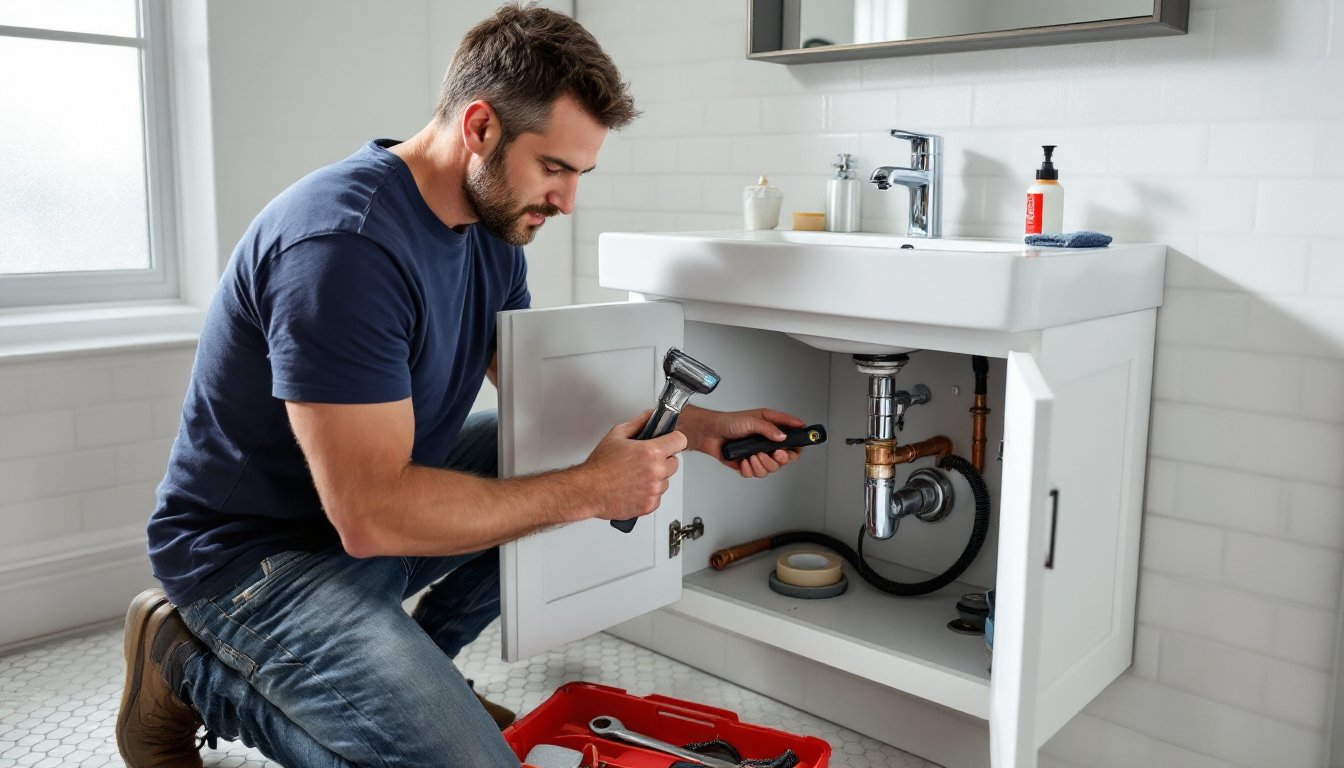
Under-sink cabinets are prime culprits. Remove stored items and look for water stains, rust, or dampness on the cabinet floor. Run the faucet and check the P-trap (the curved pipe under the sink) and compression fittings for drips. Tighten slip nuts hand-tight, then add a quarter-turn with pliers, overtightening can crack plastic or warp rubber washers.
Inspect the supply lines feeding faucets and toilets. Braided stainless steel hoses last longer than plastic, but both degrade. Look for bulges, kinks, or corrosion at the ferrules. If a line is more than five years old, consider replacing it preemptively, they cost $10–15 and prevent floods.
Run your hand along visible pipes in basements or crawlspaces. Feel for moisture or beads of water. Check joints and elbows, where corrosion starts. Copper develops green oxidation: galvanized steel rusts. Minor surface corrosion is normal, but active pitting or flaking means replacement is overdue.
For hidden leaks, monitor your water meter. Turn off all fixtures and appliances, then check the meter. If the dial moves, water is escaping somewhere. Many common bathroom plumbing repairs involve fixing unnoticed leaks before they escalate.
Don’t ignore caulk and grout around tubs and showers. These aren’t purely cosmetic, they prevent water from seeping behind tile and rotting the substrate. Re-caulk annually with 100% silicone caulk rated for wet areas.
Test and Maintain Your Toilet Components
Toilets are mechanically simple but fail frequently due to wear on rubber parts. A running toilet can waste 200 gallons per day, according to the EPA WaterSense program.
Start by lifting the tank lid and flushing. Watch the flapper (the rubber valve at the bottom). It should seal completely after the flush cycle. If water continues trickling into the bowl, the flapper is warped or coated with mineral buildup. Flappers cost $5–8 and install without tools, just unhook the old one and snap on the new one.
Next, check the fill valve. After a flush, it should shut off once the water reaches the marked line inside the tank (usually one inch below the overflow tube). If it keeps running or if you hear hissing, adjust the float or replace the valve. Modern fill valves use a screw adjustment on the side: older ballcock-style floats bend a metal arm.
Inspect the tank bolts and washers. Rust or corrosion here causes leaks between the tank and bowl. Tighten them gently in an alternating pattern (like lug nuts on a tire) to avoid cracking the porcelain. If washers are deteriorated, replace the entire bolt kit.
Test the shutoff valve below the tank. Turn it clockwise to close, then counterclockwise to reopen. If it’s stuck, apply penetrating oil and work it gently. A seized valve is useless in an emergency.
Once a year, pour a cup of white vinegar into the overflow tube and let it sit overnight. This dissolves mineral deposits inside the fill valve and siphon jets. Homeowners dealing with persistent toilet issues can review troubleshooting guides and repair techniques for additional help.
Prevent Hard Water Buildup on Faucets and Showerheads
Hard water contains dissolved calcium and magnesium that form crusty white deposits, scale, on fixtures. Left unchecked, scale clogs aerators, reduces water pressure, and eventually damages valve seats.
Showerheads are especially vulnerable. Unscrew the showerhead (use a rag and pliers to avoid scratching the finish) and soak it overnight in a 50/50 mix of white vinegar and water. For fixed showerheads, fill a plastic bag with vinegar, secure it over the head with a rubber band, and let it soak. Scrub the nozzles with an old toothbrush, then flush with hot water.
Faucet aerators, the mesh screens at the tip of the spout, trap sediment and scale. Unscrew them by hand or with pliers (most are threaded clockwise-to-tighten). Disassemble the aerator, rinse the screen, and soak the parts in vinegar. Reassemble carefully: the rubber washer must face the right direction to prevent leaks.
For chrome or brushed nickel finishes, wipe down faucets weekly with a microfiber cloth and mild dish soap. Avoid abrasive cleaners, they scratch the finish and create pits where scale accumulates faster.
If hard water is severe, consider a point-of-use water softener or whole-house system. These reduce mineral content, extending fixture life and improving soap efficiency. Costs range from $400 for basic units to $2,500+ for whole-house systems, plus installation.
In regions with very hard water, replacing mechanical and plumbing components on a preventive schedule saves more than reactive repairs.
Know When to Call a Professional Plumber
DIY maintenance handles 80% of bathroom plumbing upkeep, but some jobs require a licensed plumber, for safety, code compliance, or specialized tools.
Call a pro if you encounter persistent slow drains after snaking and chemical treatments. The clog may be deep in the main stack or caused by tree roots in the sewer line. Plumbers use motorized augers and camera inspection to diagnose and clear these.
Low water pressure throughout the house suggests issues beyond a single fixture, corroded galvanized pipes, a failing pressure regulator, or sediment in the water heater. Whole-system diagnostics require experience and testing equipment.
Any work involving supply line relocation, new fixture installation, or changes to drain venting typically requires permits and inspections per the International Plumbing Code (IPC). Unlicensed work can void homeowners insurance and complicate future sales.
Sewer gas odors that persist even though cleaning drains and P-traps indicate a broken vent pipe or failed trap seal. Sewer gas contains methane and hydrogen sulfide, both hazardous. Don’t troubleshoot this yourself.
If you spot active leaks inside walls, ceiling stains, or water pooling near the foundation, shut off the main water supply and call immediately. Water damage accelerates fast, and mold can colonize damp drywall in 24–48 hours.
Finally, if you’re uncomfortable with any task, whether due to physical access, tool requirements, or uncertainty, hiring a plumber is cheaper than fixing mistakes. Most service calls cost $150–300: fixing a botched DIY repair can run thousands. Many electrical and plumbing tasks overlap in complexity, so knowing your limits matters.
Conclusion
Bathroom plumbing maintenance doesn’t require a plumber’s license, just consistency and attention. Monthly drain cleanings, quarterly leak checks, and annual component replacements keep water flowing and bills low. The time invested pays back in avoided emergencies and extended fixture life. Set reminders, keep basic tools on hand, and address small problems before they become big ones.