A burst pipe at 2 a.m. or a water heater failure mid-winter isn’t just inconvenient, it’s expensive. Most homeowners spend thousands on emergency plumbing repairs that could’ve been avoided with routine checkups. The good news? Preventive plumbing maintenance doesn’t require a plumber on speed dial or advanced skills. With a little consistency and the right approach, anyone can spot trouble early, extend the life of fixtures, and dodge those budget-busting disasters. This guide breaks down the monthly tasks, seasonal strategies, and deep-maintenance moves that keep pipes flowing and wallets intact.
Table of Contents
ToggleKey Takeaways
- Best plumbing maintenance prevents expensive emergency repairs—fixing a minor leak costs $150–$300, while water damage from neglect can exceed $10,000.
- Monthly self-checks for leaks, water pressure, and toilet tank leaks take less than an hour and require only basic tools like a flashlight and wrench.
- Seasonal and year-round tasks—from spring hose bib inspections to winter pipe insulation—protect pipes and fixtures in every climate condition.
- Natural drain cleaning with boiling water, baking soda, and vinegar beats harsh chemicals and prevents clogs that lead to costly professional hydro-jetting.
- Water heater maintenance including annual flushing, anode rod inspections, and temperature checks extends equipment life from 10–15 years to potentially longer while reducing energy costs by 3–5%.
- Installing a catch pan under tank-style water heaters prevents catastrophic water damage and is required by code in many jurisdictions.
Why Regular Plumbing Maintenance Matters for Homeowners
Plumbing systems work quietly behind walls and under floors until something goes wrong. By then, damage has often spread, warped flooring, mold growth, or corroded fixtures that need full replacement. Regular maintenance catches small issues before they escalate.
Prevention saves money. According to industry data, fixing a minor leak costs $150–$300, while repairing water damage from a neglected leak can run $2,500–$10,000 or more depending on affected areas. Routine inspections reduce emergency calls and extend the lifespan of water heaters, faucets, and supply lines.
Code compliance matters. While cosmetic plumbing work rarely needs permits, major changes like repiping or sewer line replacement often require inspection by local authorities following the International Plumbing Code (IPC) or Uniform Plumbing Code (UPC), depending on jurisdiction. Keeping systems well-maintained means fewer surprises during home sales or remodels.
Maintenance also protects water quality. Corroded pipes leach metals into drinking water, sediment buildup reduces heater efficiency, and slow drains create breeding grounds for bacteria. A proactive schedule addresses all of these risks without disrupting daily life.
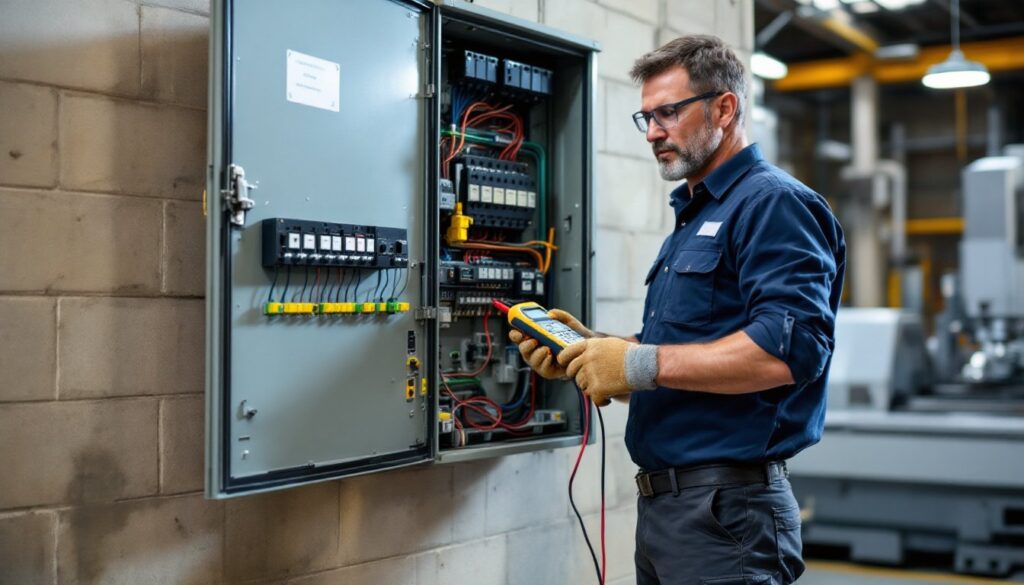
Monthly Plumbing Maintenance Tasks You Can Do Yourself
Set a reminder for the first weekend of each month. These tasks take less than an hour total and require minimal tools, usually just a flashlight, adjustable wrench, and bucket.
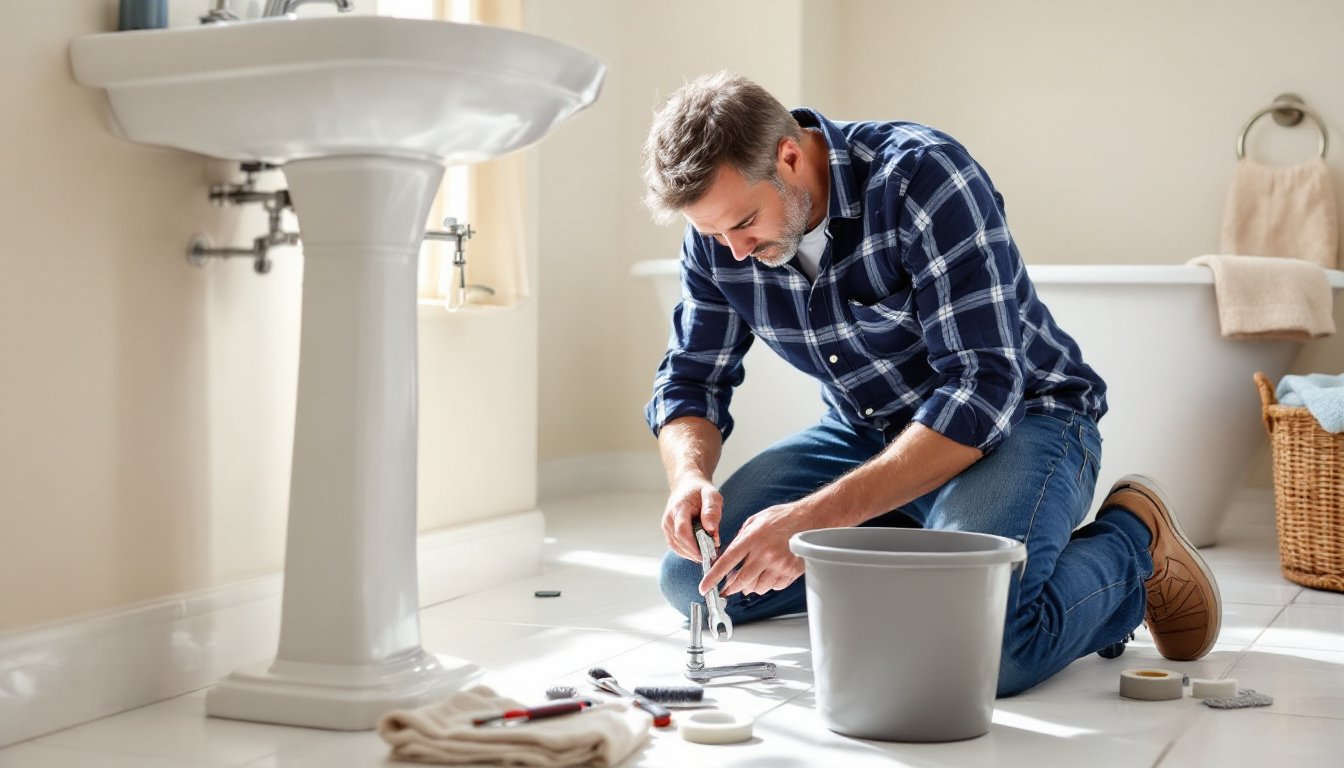
Check for Leaks and Drips
Start under sinks, around toilets, and near water heaters. Look for puddles, water stains, or corrosion on pipes and fittings. Don’t ignore slow drips. A faucet dripping once per second wastes over 3,000 gallons annually, enough to fill a hot tub.
Inspect supply lines (the braided or copper tubes connecting shut-off valves to fixtures). These should feel dry and show no kinks. Bulges or green oxidation mean replacement is overdue. Braided stainless steel supply lines last 8–10 years: rubber-coated ones should be swapped every 5 years.
Check toilet tanks by adding a few drops of food coloring. Wait 15 minutes without flushing. If color appears in the bowl, the flapper is leaking and needs replacement, a $10 fix that prevents hundreds of gallons of waste monthly. Many homeowners overlook this simple test, which is covered in routine plumbing strategies.
Look for signs of hidden leaks: peeling paint, warped baseboards, or unexplained spikes in water bills. A sudden increase often signals a slab leak or running toilet.
Test Water Pressure and Flow
Poor water pressure can indicate clogged aerators, failing pressure regulators, or partially closed shut-off valves. Unscrew faucet aerators and rinse away mineral deposits. If pressure is still weak, test at multiple fixtures to isolate the problem.
Ideal residential water pressure is 40–60 psi. Anything above 80 psi stresses pipes and appliances, shortening their lifespan. Pick up a pressure gauge (around $10 at hardware stores) that screws onto an outdoor hose bib. Test early morning when neighbors aren’t drawing water for the most accurate reading.
If pressure exceeds safe limits, install a pressure-reducing valve (PRV) on the main supply line. This is a job most handy homeowners can tackle with basic pipe-fitting experience, though it may require a permit depending on local codes. If you’re uncomfortable working on the main line, call a pro.
Seasonal Plumbing Maintenance for Year-Round Protection
Spring: Inspect outdoor faucets and hose bibs after the last freeze. Turn on the water and check for leaks at the connection point and inside the basement or crawl space where the pipe penetrates the wall. Replace any damaged vacuum breakers (the small cap on top of the spigot) to prevent backflow.
Flush the water heater to remove sediment that’s accumulated over winter. This is especially important in areas with hard water. Attach a garden hose to the drain valve, run it to a floor drain or outside, and drain 2–3 gallons. Sediment looks like rust-colored grains. If chunks appear, it’s time for a full flush or possible tank replacement.
Summer: Test sump pumps before storm season. Pour a bucket of water into the pit, float should rise and trigger the pump. If it doesn’t activate, clean the inlet screen or replace the pump. A backup battery system is worth considering in flood-prone areas.
Inspect outdoor irrigation systems for leaks or broken sprinkler heads. A single cracked head can waste hundreds of gallons per week. While you’re at it, check that sprinklers aren’t soaking your home’s foundation, which can lead to settling or basement moisture.
Fall: Disconnect and drain garden hoses. Shut off interior shut-off valves to outdoor faucets, then open the exterior valve to drain remaining water. Even “frost-free” hose bibs can freeze if a hose is left attached, trapping water inside the pipe.
Clean gutters and downspouts to prevent overflow that saturates soil around the foundation. This isn’t strictly plumbing, but it prevents the conditions that lead to basement leaks and sump pump failures. Tasks like these overlap with broader home system maintenance.
Winter: Insulate exposed pipes in crawl spaces, attics, and exterior walls using foam pipe sleeves (available in pre-slit lengths at any hardware store). Pay special attention to pipes near foundation vents or unheated garages. Code note: In cold climates, the IRC requires protection for pipes in areas subject to freezing.
Keep cabinet doors under sinks open during extreme cold snaps to allow warm air circulation. If you’re leaving town, set the thermostat no lower than 55°F and shut off the main water supply, then drain faucets to prevent burst pipes while you’re away.
Deep Cleaning Drains and Preventing Clogs
Most clogs build gradually. Hair, soap scum, grease, and mineral deposits narrow drain openings until water barely moves. By the time a drain stops completely, damage may already be done, standing water corrodes fixtures and creates leaks at drain connections.
Monthly: Pour a kettle of boiling water down kitchen and bathroom drains to dissolve grease and soap buildup. Follow with a 1/2 cup of baking soda and 1 cup of white vinegar. Let it fizz for 15 minutes, then flush with hot water. This natural method keeps drains fresh without the harsh chemicals that can damage older pipes.
Every 3–6 months: Remove and clean P-traps under sinks. Place a bucket underneath, loosen the slip nuts by hand or with a pipe wrench, and pull the trap free. Dump the contents (usually a mix of hair, gunk, and lost jewelry), scrub the interior, and reinstall. Replace rubber washers if they’re cracked or flattened, new ones cost pennies and prevent leaks.
For tubs and showers, unscrew the drain cover and use a drain snake or zip-it tool to pull out hair clogs. These plastic strips with barbed edges cost about $5 and work better than chemical drain cleaners for organic blockages. A 25-foot hand-crank auger handles deeper clogs and costs $20–$40 at home centers. Regular drain care prevents backups that require professional hydro-jetting.
Never pour grease down drains. It solidifies in pipes and builds up over time. Wipe pans with paper towels before washing. Install mesh strainers over all drains to catch hair and food particles, cheap insurance against expensive snaking bills.
If multiple drains back up simultaneously or you notice gurgling from toilets when running water elsewhere, the problem likely lies in the main sewer line. That’s a job for a licensed plumber with a camera inspection tool. Tree root intrusion is a common culprit and requires professional cutting or pipe relining.
Water Heater Maintenance Best Practices
Water heaters are the workhorse appliances most homeowners ignore until cold showers force action. With proper care, a tank-style gas or electric water heater lasts 10–15 years: tankless models can push 20 years.
Annual flush (critical for hard water areas): Sediment settles at the tank bottom, insulating water from the heating element and forcing the unit to work harder. This cuts efficiency and can lead to tank failure. Shut off power (breaker for electric, gas valve to “pilot” for gas units), close the cold water inlet, attach a garden hose to the drain valve, and empty the tank into a floor drain or outdoors. Refill, then restore power. First-timers should expect 20–30 minutes for this task.
For comprehensive water system maintenance, include checking the temperature setting. 120°F is optimal, hot enough to kill bacteria but cool enough to prevent scalding and reduce energy costs. Every 10-degree reduction saves 3–5% on water heating bills.
Test the pressure relief valve (T&P valve) annually. Lift the lever and let it snap back, water should discharge briefly from the overflow pipe. If nothing happens or water doesn’t stop, replace the valve immediately. A failed T&P valve is a safety hazard: excessive pressure can cause tank ruptures.
Inspect the anode rod every 3–5 years (more often with soft water, which accelerates corrosion). This sacrificial component protects the tank lining by corroding in its place. Unscrew it from the top of the tank using a socket wrench and impact driver if needed, some are heavily calcified. If less than 1/2 inch of core wire is visible or the rod is coated in calcium, replace it. This $20 part can double tank life.
Tankless units need annual descaling in hard water areas. Shut off gas/power and water, connect a pump to flush white vinegar or commercial descaler through the system for 45 minutes, then rinse. Manufacturers recommend this to maintain efficiency and prevent heat exchanger damage.
Safety gear: Wear gloves and safety glasses when draining tanks, sediment-laden water is hot and gritty. For gas water heaters, never attempt repairs on the gas line or burner assembly: that’s licensed plumber territory and often requires permits.
If the heater is nearing the end of its expected lifespan and showing signs like rust-colored water, rumbling noises, or inconsistent temperatures, start budgeting for replacement rather than sinking money into repairs. A new 50-gallon electric unit runs $400–$900 plus installation: gas models cost slightly more. Tankless systems start around $1,000 but offer long-term energy savings of 20–30% for homes using less than 41 gallons daily.
Pro tip: Install a catch pan under tank-style heaters, especially those in attics or upper floors. Connect a drain line from the pan to a safe discharge point. This simple addition prevents catastrophic water damage if the tank develops a slow leak. Some jurisdictions require pans and discharge piping per local amendments to the IRC.
By staying on top of these tasks, homeowners dramatically reduce the risk of sudden failures and extend equipment life well beyond average. The upfront time investment pays off in reliability, lower utility bills, and peace of mind.