When a light switch decides to take an unexpected vacation, it can leave anyone in the dark—literally. Flicking the switch and getting nothing but silence can feel like a bad joke. But fear not! Light switch repair isn’t as daunting as it sounds. With just a few tools and a little know-how, anyone can tackle this common household hiccup.
Understanding Light Switches
Knowing the types of light switches and their common issues can simplify the repair process. A light switch serves as the control mechanism for lighting circuits, playing a crucial role in everyday functionality.
Types of Light Switches
Common types of light switches include toggle, rocker, dimmer, and smart switches. Toggle switches function by flipping a lever up or down to turn lights on or off. Rocker switches operate similarly, featuring a wide surface for easy operation. Dimmer switches adjust brightness levels, providing flexibility in lighting ambiance. Smart switches connect to home networks, allowing remote control via smartphones or voice commands.
Common Issues with Light Switches
Malfunctioning light switches typically exhibit a few common issues. Flickering lights indicate a poor connection, often arising from loose wires. Stuck switches can result from debris or internal mechanical failure. Sometimes, a switch might only control certain fixtures, suggesting a circuit wiring issue. Users may also experience buzzing sounds, which signal overheating or faulty components. Identifying these problems ensures efficient repairs and sustained functionality.
Tools Needed for Light Switch Repair
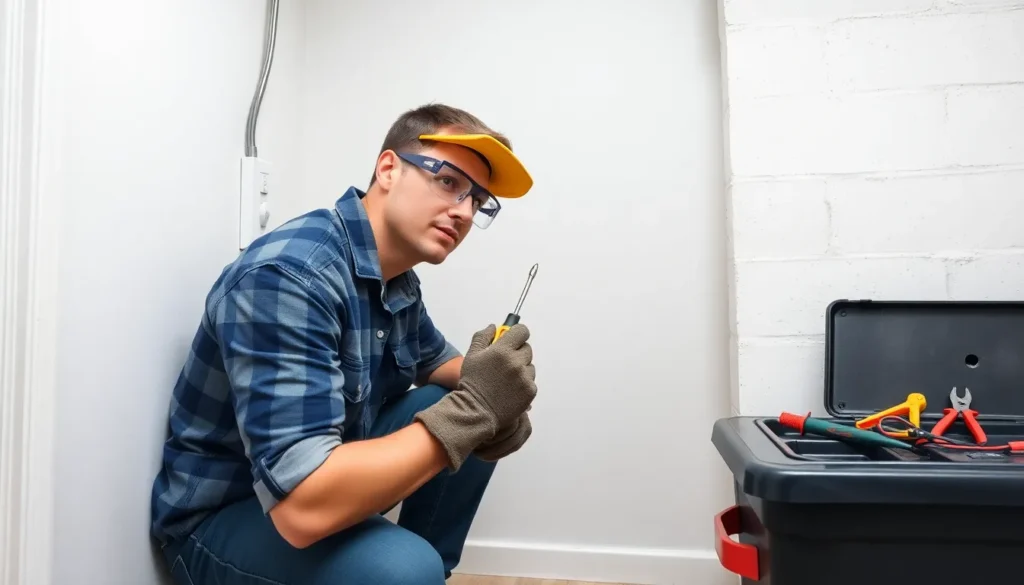
Repairing a light switch requires specific tools and safety equipment. Having these items on hand ensures an effective and secure repair process.
Essential Tools
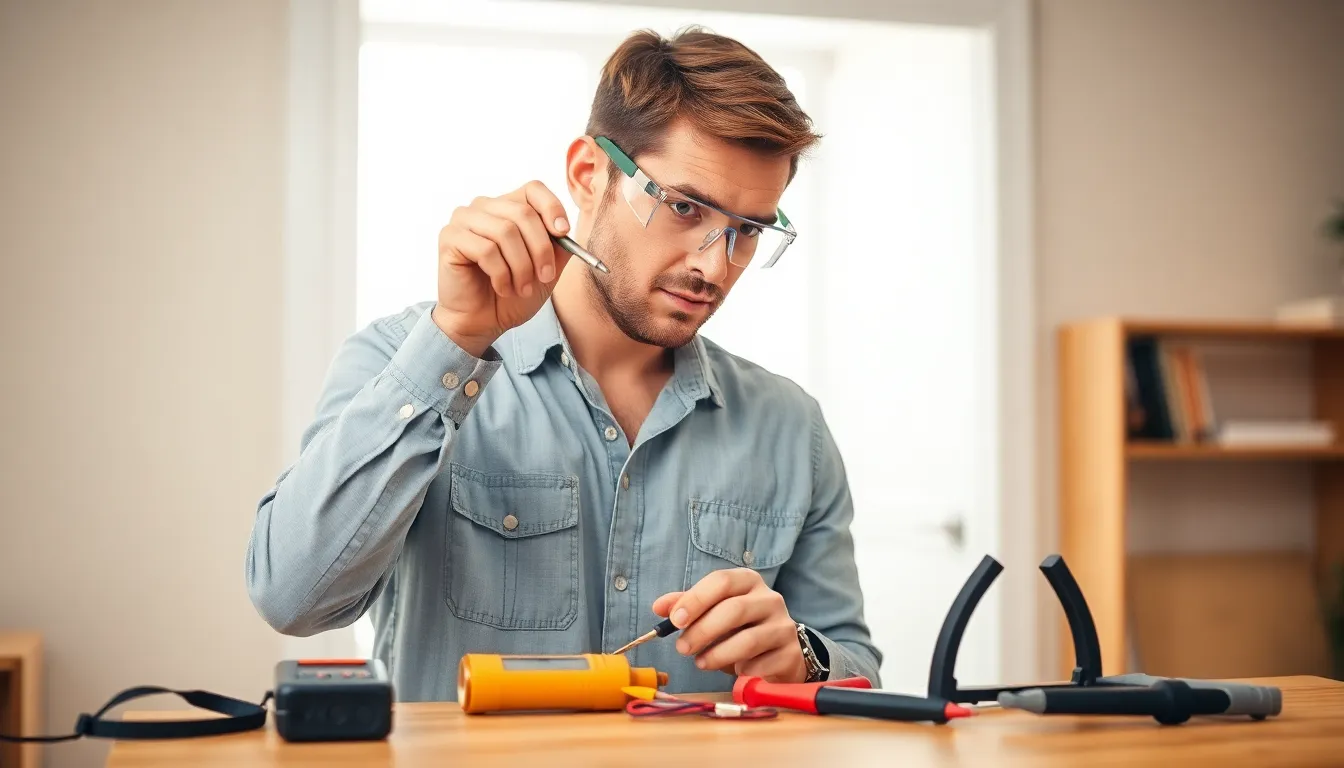
Screwdrivers are crucial for removing the switch cover and loosening terminal screws. A multimeter helps troubleshoot electrical issues and verify if the switch functions correctly. Pliers assist in gripping and bending wires during the repair. Wire strippers allow for precise insulation removal from wires, ensuring clean connections. Lastly, a flashlight lights up dark spaces, making it easier to see inside electrical boxes.
Safety Equipment
Safety goggles protect the eyes from debris and sparks during repairs. Insulated gloves offer protection against electrical shocks. A voltage tester checks for live wires, ensuring the switch is de-energized before starting work. Additionally, a non-conductive tool kit prevents electrical hazards while handling components. Lastly, keeping a first aid kit nearby addresses any minor injuries that may occur.
Step-by-Step Guide to Light Switch Repair
This section provides a practical approach to fixing a light switch, detailing the steps for both diagnosing issues and executing repairs.
Diagnosing the Problem
Start by turning off the power supply to the switch at the circuit breaker. Check for any visible signs of damage or wear, such as cracked covers or burnt contacts. Use a multimeter to test the switch functionality. Measure voltage across the switch terminals to ensure the switch is operating as expected. Observe for flickering lights or buzzing sounds that indicate electrical issues. Listen for odd noises when toggling the switch, as these can reveal internal failures. Identifying specific symptoms helps in determining whether a repair or replacement is necessary.
Repairing or Replacing the Switch
If the switch shows signs of malfunction, repairs can often resolve the issue. Unscrew the switch cover to access the wiring underneath. Tighten any loose connections to ensure a solid electrical pathway. If the switch persists in malfunctioning, replacement may be the best option. A new switch typically installs using the same wiring configuration. Remove the old switch, noting the wire placements for the new one. Connect the wires securely to the new switch, then reattach the cover. Finally, restore power at the circuit breaker and test the new switch to confirm proper function.
Maintenance Tips for Light Switches
Maintaining light switches ensures they function effectively and safely. Simple checks and troubleshooting can prevent major issues.
Regular Checks
Inspect light switches periodically for any signs of wear or damage. Look for discoloration, cracks, or loose covers that may indicate problems. Testing the switch by toggling it on and off helps identify any irregularities in performance. A buzzing sound during operation signals a potential issue that may require immediate attention. Scheduling these checks every few months can prevent minor issues from escalating into costly repairs.
Troubleshooting Common Issues
Flickering lights often indicate a loose connection or failing switch. If a switch feels hot to the touch, turn off the power and investigate the wiring. Stuck switches require gentle pressure, and if unresponsive, replacement may be necessary. Using a multimeter can determine whether a switch functions properly. Buzzing sounds should prompt an inspection of the wiring for any loose connections or damage. Understanding these common issues aids in quick identification and resolution of light switch problems.
Repairing a light switch is a manageable task that can enhance safety and functionality in any home. By understanding the types of switches and common issues, anyone can tackle repairs with confidence. Utilizing the right tools and safety equipment ensures a smooth process while minimizing risks.
Regular maintenance and prompt attention to problems can extend the life of light switches and prevent more significant issues down the line. With a little knowledge and effort, homeowners can keep their lighting systems in top shape, ensuring a well-lit and safe environment.